There are some major changes to my setup. read the latest here: https://shaaf.dev/post/2026-03-09-neovim-rust-update/
Are you a Java developer who is mesmerized by the power and efficiency of Vim? Do you want to try your development experience to the next level? I mean hands-off the mouse style! If so, you’re in for a treat! In this post, I am going to dive into the world of Neovim and explore how you can transform it into a Java IDE. To be honest its a learning journey. And the more I experience learning it, I feel like I really need to share how cool this thing really is!
I have created a new repo called neovim4j for anyone looking to get started with it. A fantastic start for the configuration that showcases the power of Neovim for Java development but mind you, I am still learning and there are still some rough edges. So if you have ideas please fork, contribute, discuss or just feel free to use..⭐⭐
Why Neovim?
For years, Vim has been the go-to editor for developers who value speed and efficiency. With its modal editing and powerful keybindings, it allows you to keep your hands on the keyboard and your focus on the code. Neovim, a fork of Vim, takes this a step further. It’s a hyper-extensible platform that has a vibrant and active community.
One of the most significant improvements in Neovim is the first-class support for Lua as a configuration language. While Vimscript was powerful, Lua is a more modern and expressive language that makes configuring Neovim a breeze. This has led to a new generation of plugins that are faster, more powerful, and easier to configure than ever before.
Inspiration:
This configuration was inspired by Melkeydev’s Neovim repo and the YouTube talk “How I use Neovim in 2024”.
It aims to provide a beginner-friendly setup for developers who want a powerful editor out of the box.
Structure and configuration
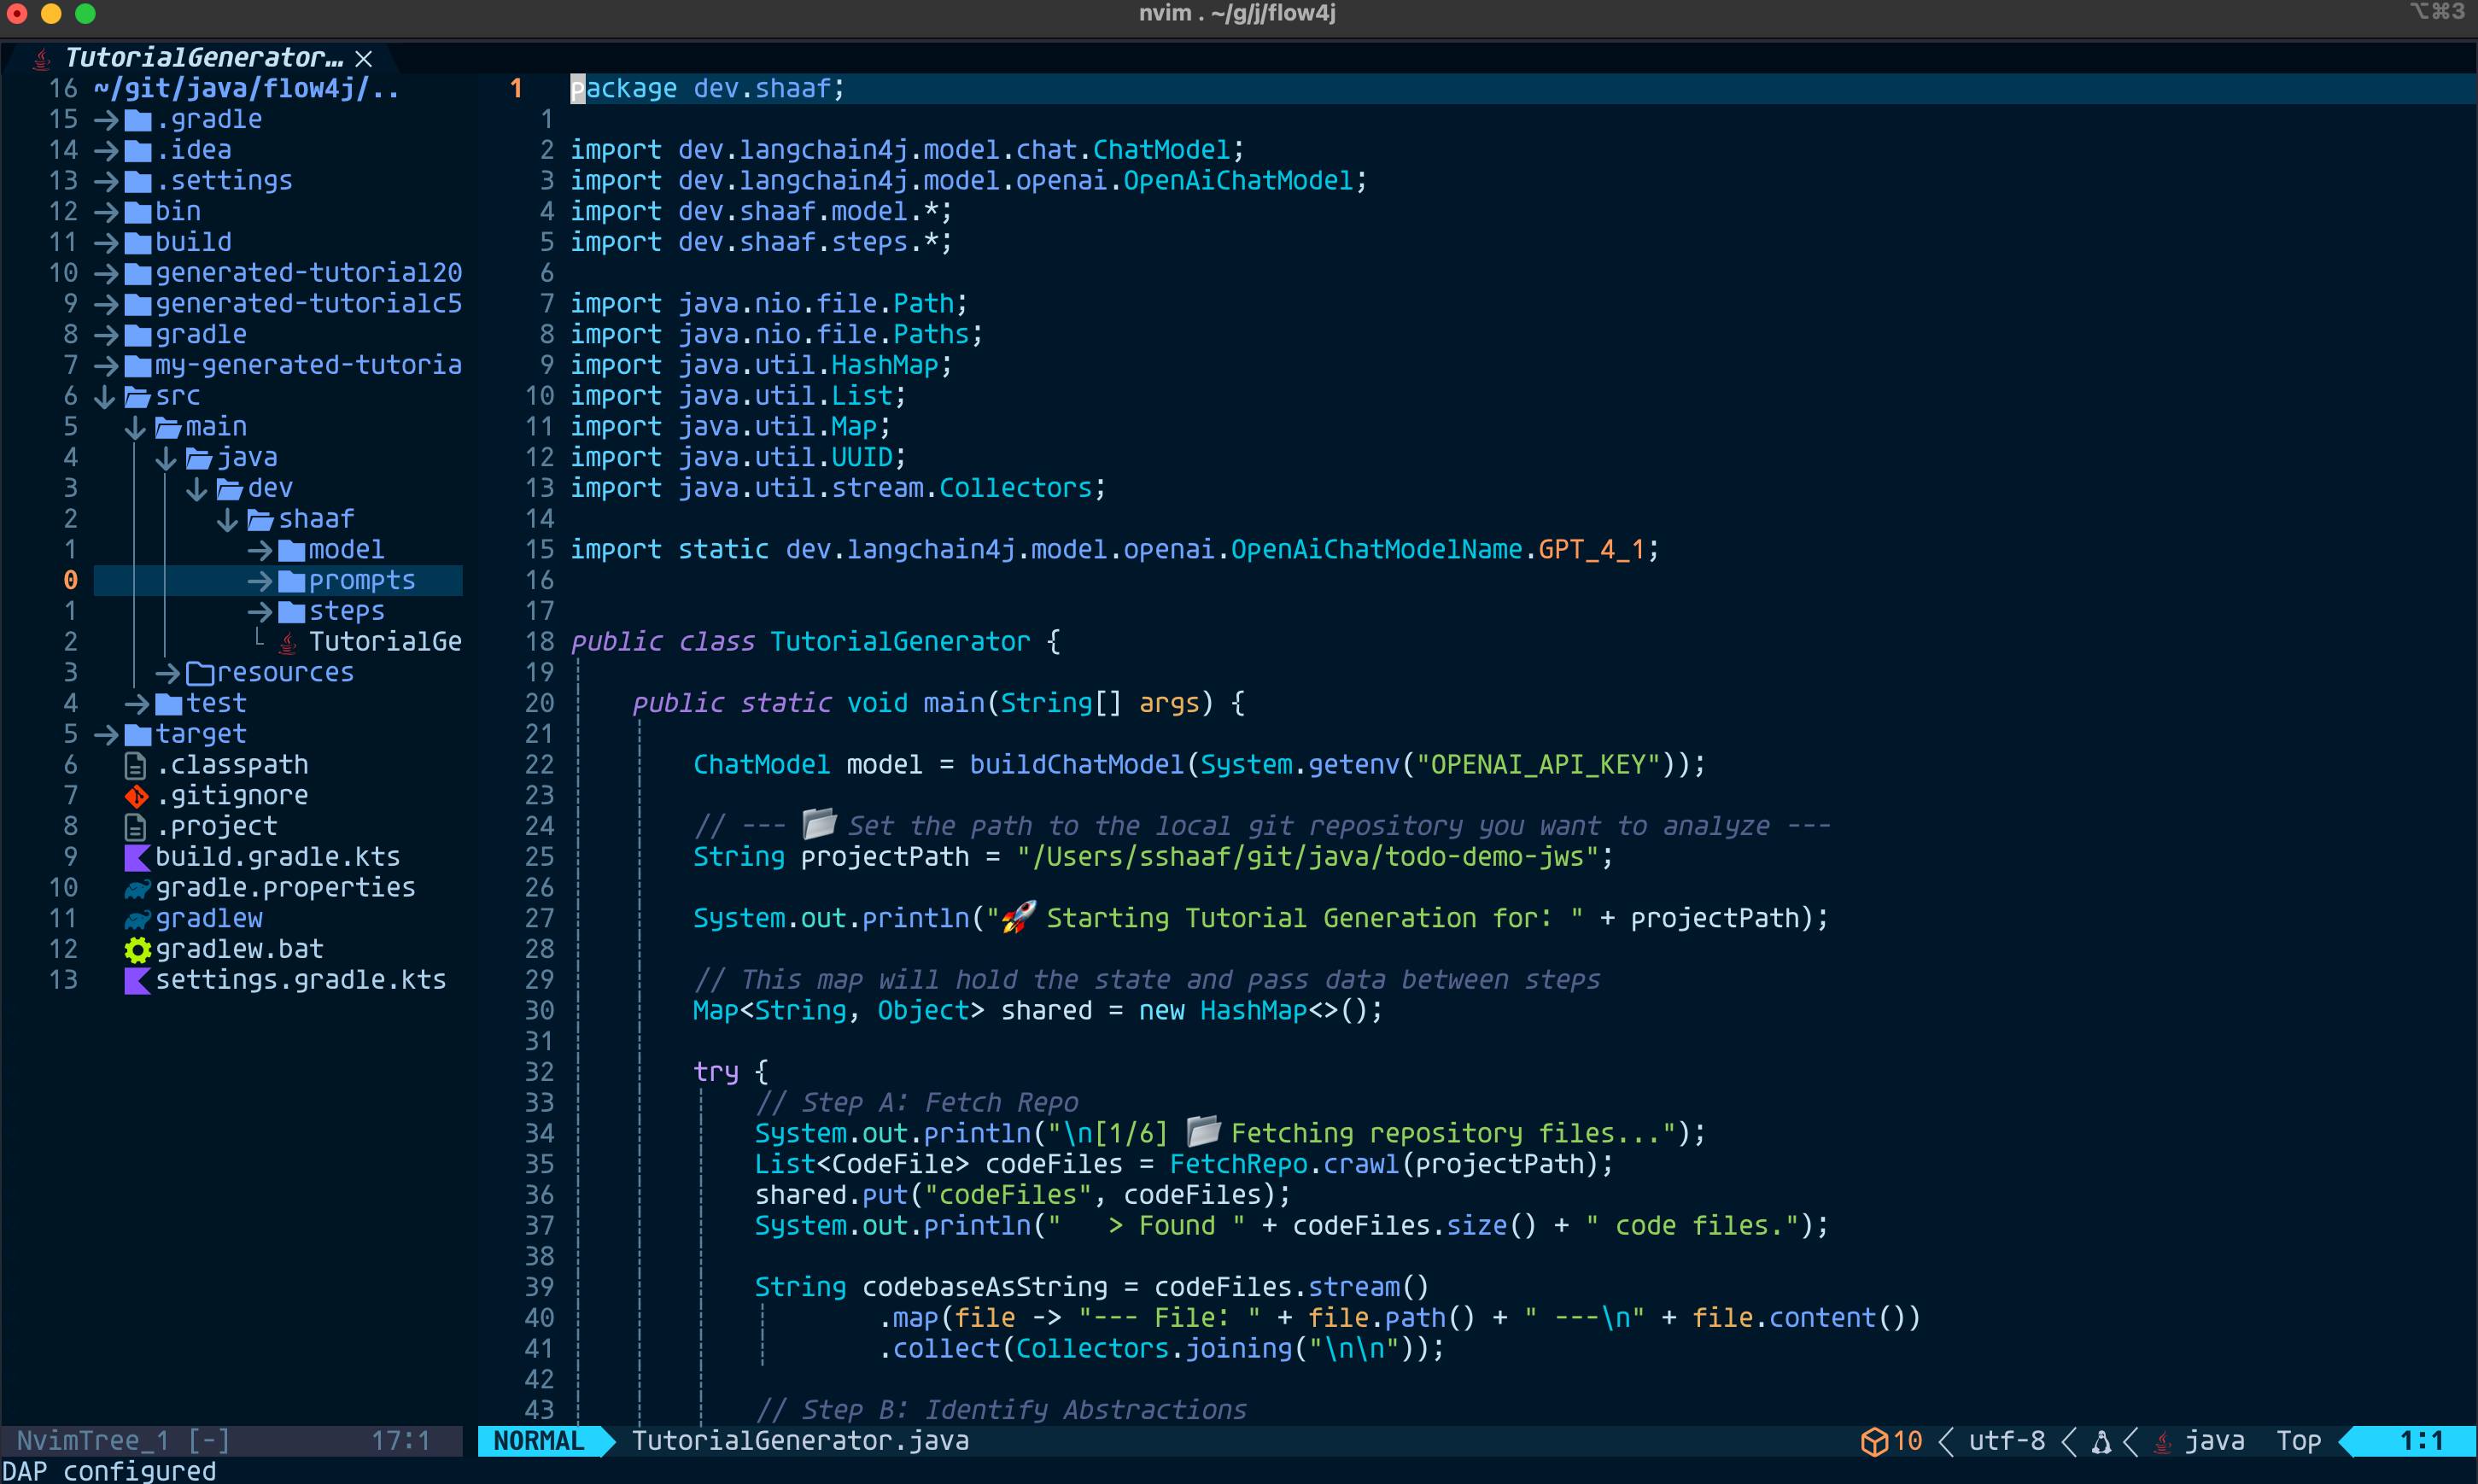
The configuration is structred as follows. I use init.lua to load everything in dir neovim4j. This was an interesting learning, as it seems Lua loads everthing in this directory and refers to it as a dependency. for example, the core/init.lua loads keymaps and options.
neovim4j/init.lua (which basically loads the following)
neovim4j/core/init.lua
neovim4j/plugins/init.lua
This just made life so much easier to understand 🤩
init.lua
lua/
  neovim4j/
    init.lua
    lazy.lua
    core/
      init.lua
      keymaps.lua
      options.lua
    plugins/
      <plugin>.lua
      lsp/
        mason.lua
        lspconfig.lua
Let’s take a look at some of the key plugins and features:
Leader key
Always important to remmember, the Leader key is set to <Space>. It acts as a prefix for custom shortcuts, making commands easy to remember and execute. Also when you press <Space> everytime it will load a list of menu, you can visibly see which next key you can press to take an action.

I am using <Space> as the leader key but you dont have to. its set in the neovim4j/core/keymaps.lua as follows
-- set leader key to space
vim.g.mapleader = " "
Okay lets take a look at some of the key bindings that I have enabled as of now.
Basic Keybindings for Beginners
Fuzzy Search (Telescope):
<leader>fp— Find files<leader>fr— recent files<leader>fs— live grep
File Explorer (Nvim-tree):
<leader>ne— Toggle file explorer
Terminal (ToggleTerm):
<leader>CTRL+7— Open terminal
Gradle Build (if configured):
<leader>gb— Run Gradle build
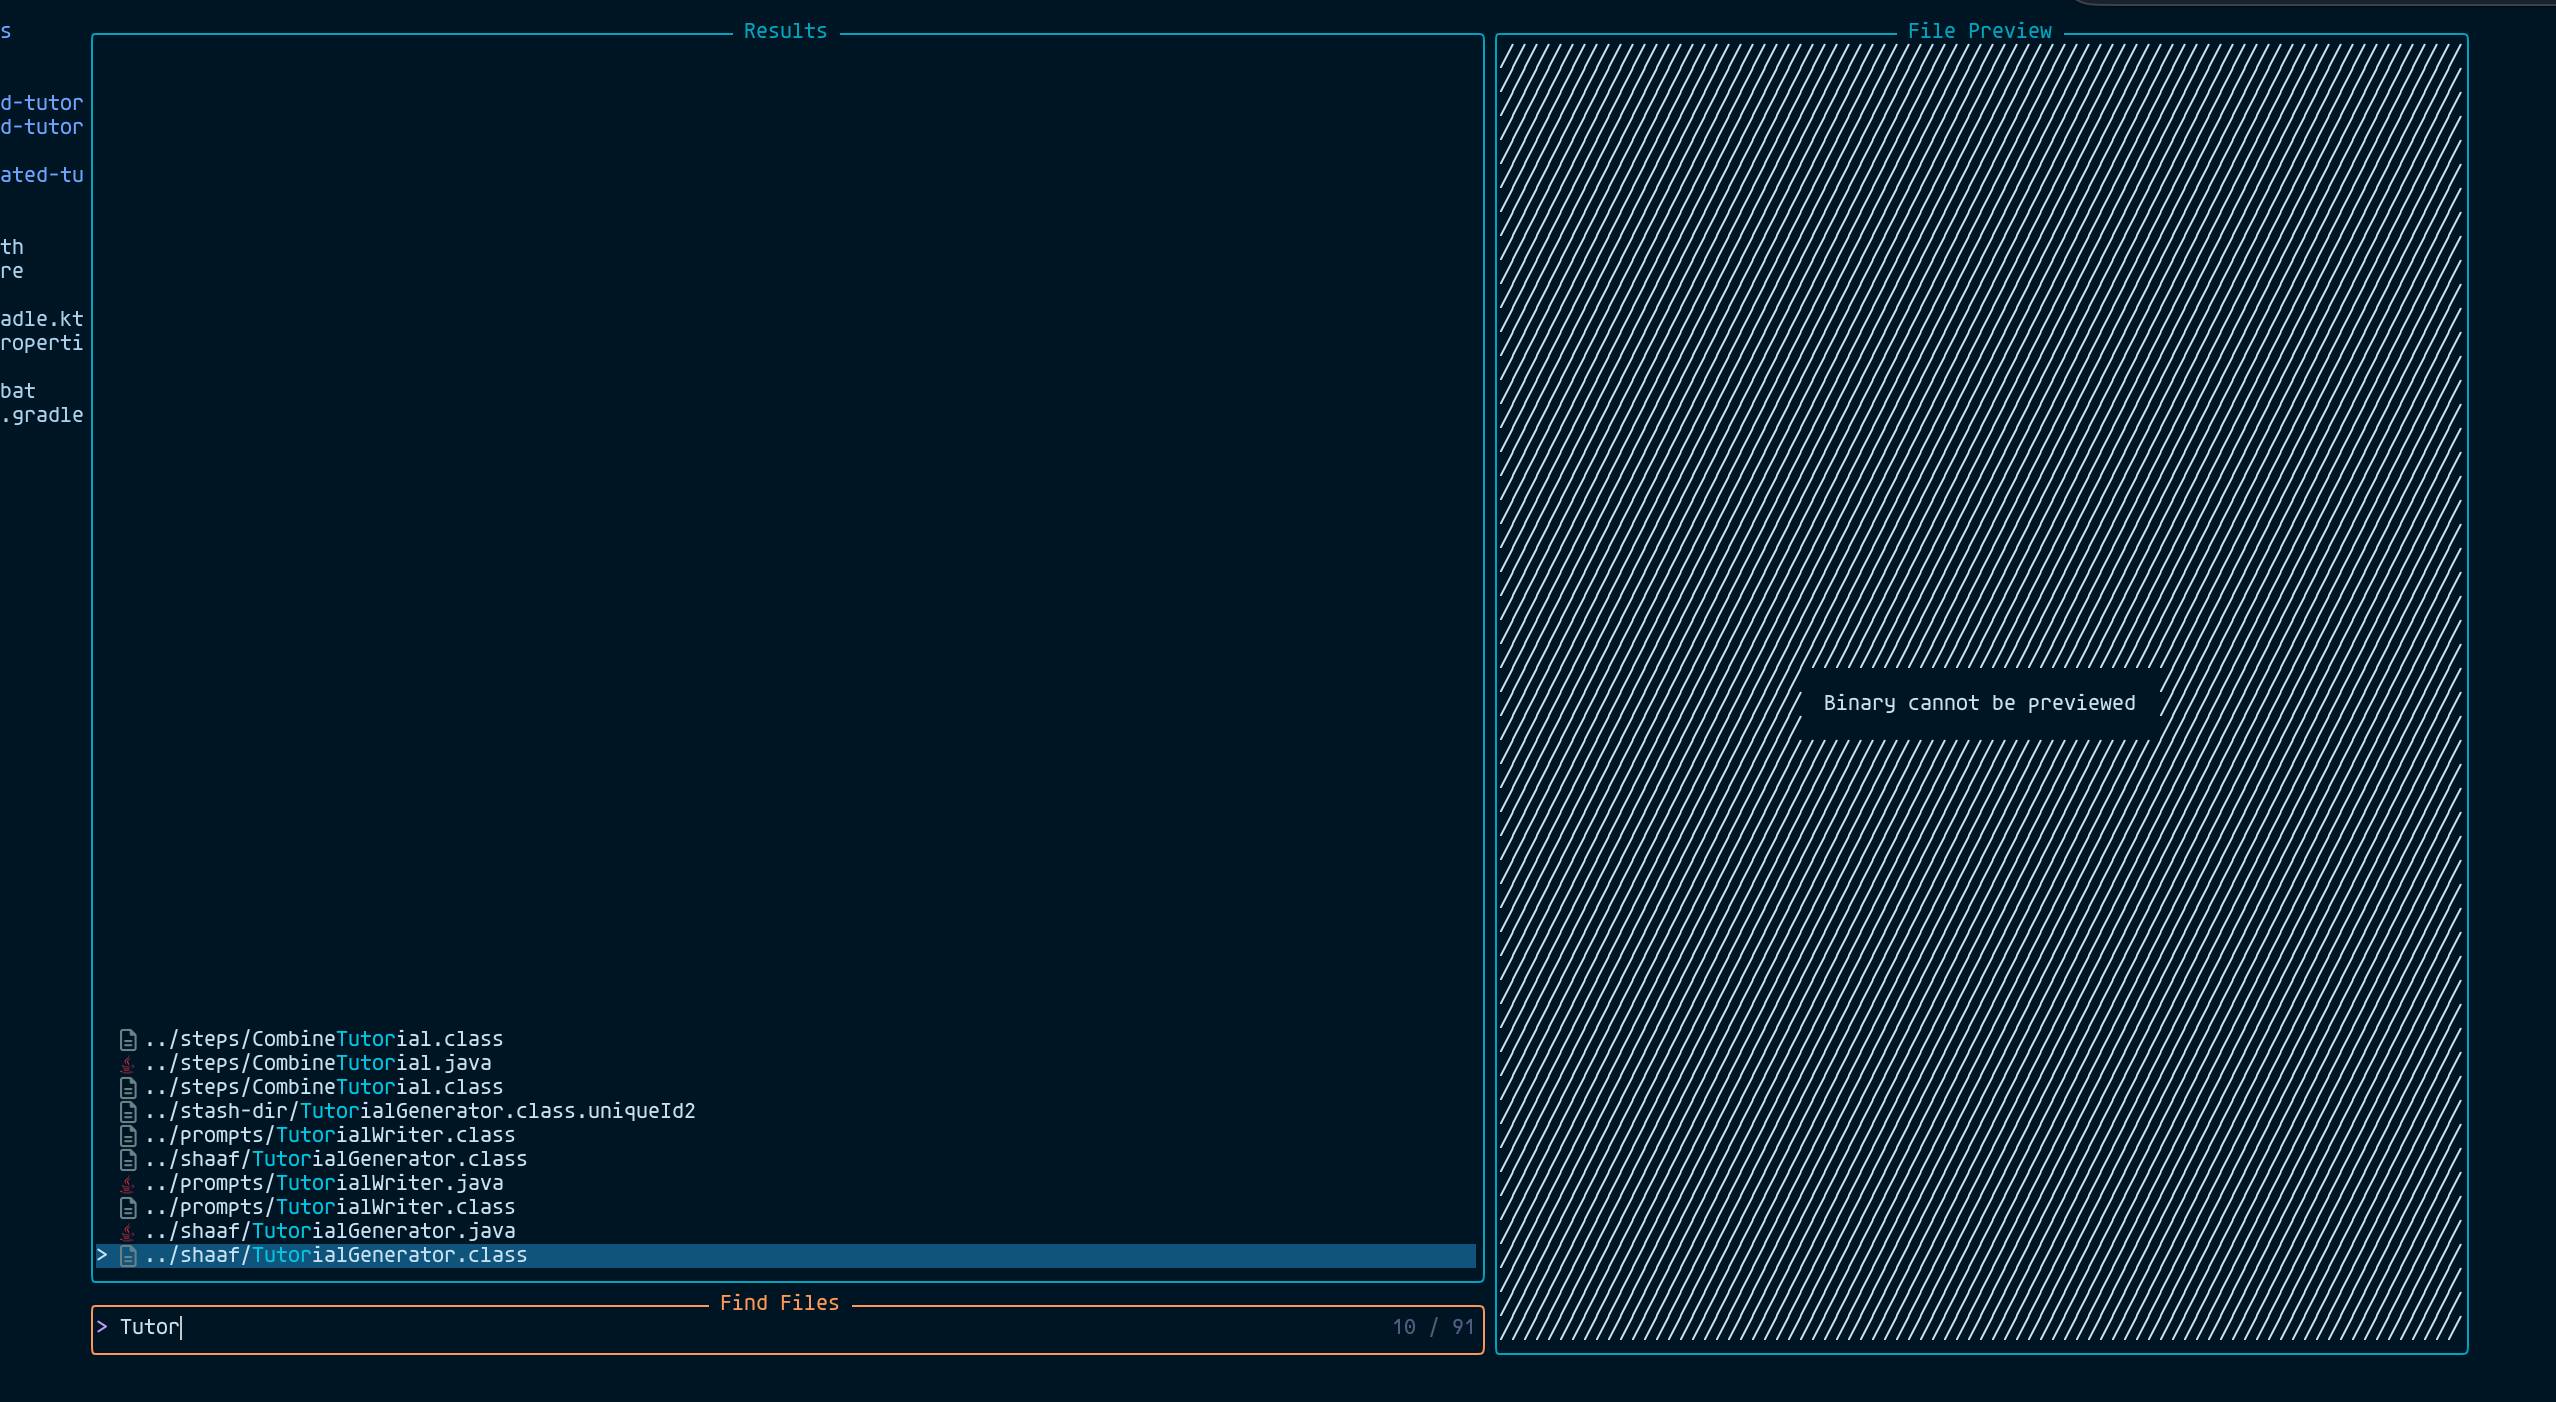
A screenshot of fuzzy search in Neovim, you can always press ESC to come out of it. However once you select a file it will open it up for you.
Java Config
The neovim4j configuration uses a variety of plugins to provide a feature-rich development environment. Here are some of the highlights:
nvim-lspconfig: This is the foundation of our IDE-like experience. It configures the Language Server Protocol (LSP), which provides features like code completion, diagnostics, and go-to-definition. For Java, this configuration usesjdtls, the Java language server from the Eclipse JDT project.
The neovim4j/plugins/java.lua uses nvim-java and defines some of the following keys.
nvim-java: This plugin brings in a lot of goodies, like testing, debugging, call hierarchy etc.<Leader>jt: running tests also has variants like jm and jT<Leader>th: for TypeHierarchy and ch for CallHierarchy<Leader>db: Toggle breakpoint<Leader>dc: Continue<Leader>di: Step into<Leader>do: Step over<Leader>dr: Open REPL
telescope.nvim: This is a powerful fuzzy finder that allows you to quickly search for files, buffers, and more. It’s an essential tool for navigating large projects.nvim-treesitter: This plugin provides advanced syntax highlighting and code parsing. It understands the structure of your code, which enables more accurate and intelligent features.gitsigns.nvim: This plugin shows you git diffs in the sign column, making it easy to see what’s changed since your last commit.
Nothing is complete these days without chat bot or coding assistant. So here it goes.
AI Integration
This configuration provides seamless integration with two powerful AI tools: GitHub Copilot for code completion and ChatGPT.nvim for conversational AI and code editing.
ChatGPT.nvim (OpenAI)
To use ChatGPT features, you must set your OpenAI API key as an environment variable before launching Neovim:
export OPENAI_API_KEY="your-api-key-here"
The configuration sets a default model (e.g. gpt-4.1-2025-04-14), but you can change this in your plugin settings if you prefer a different model.
Useful ChatGPT.nvim Keybindings:
<leader>ac— Start a ChatGPT chat<leader>ae— Edit selected code with instructions (visual mode)<leader>ag— Complete code with ChatGPT<leader>ax— Explain selected code (visual mode)
GitHub Copilot
To authenticate or reset your Copilot credentials:
- Open Neovim.
- Run the authentication command:
This will provide a user code and a GitHub URL. Open the URL in your browser and enter the code to authorize Neovim.:Copilot auth - After authorizing, check your status in Neovim:
:Copilot status
Getting Started with Neovim
If you’re new to Neovim, there are a wealth of resources available to help you get started. Here are a few of our favorites:
- The official Neovim documentation: The best place to start is the official documentation. It’s well-written and comprehensive, and it will teach you everything you need to know to get started. You can access it by running
:helpin Neovim. - Vim Tutor: If you’re new to Vim-style editing,
vimtutoris a great way to learn the basics. It’s an interactive tutorial that will teach you the essential commands in about 30 minutes. - Awesome Neovim: This is a curated list of Neovim plugins and resources. It’s a great place to discover new plugins and find inspiration for your own configuration.
- Community Forums: The Neovim community is very active and helpful. If you have any questions, be sure to check out the Neovim subreddit and the Neovim Gitter channel.
Conclusion
Give it a try and see for yourself Happy coding with Neovim!