Consider a web application that needs to store user-generated content, such as images, videos, and documents. Instead of storing them in a file systems or using a database, the web application can use an object store. An object store can handle objects as a single unit, providing metadata about each object and abstracting away from the underlying storage which can be local or distributed. In this blog post I will explain a local setup for minio using docker. I also use Quarkus as the framework of choice for cloud native applications. and I use the minio SDK which is pretty awesome to work with together with Quarkus. Let’s do this :)
An object is binary data, sometimes referred to as a Binary Large OBject (BLOB). Blobs can be images, audio files, spreadsheets, or even binary executable code. Object Storage platforms like MinIO provide dedicated tools and capabilities for storing, retrieving, and searching for blobs. – According to Minio
Local setup
Minio, apart from its cool name, makes it super easy to run it locally using docker. They also have an official playground, which keeps the files and buckets for about 24hours; or atleast mine got deleted with in 24 hours. However in this post I focus on the local setup. In this example I am using a docker-compose file. The reason I usually prefer compose is becuase it lets me pull in multiple services in one file. Not very easy if I have to remmember each and every command and params everytime. This way its all in one place.
  minio:
    image: minio/minio (1)
    ports: (2)
      - "9000:9000"
      - "9001:9001"
    environment: (3)
      MINIO_ROOT_USER: minioadmin
      MINIO_ROOT_PASSWORD: minioadmin
      MINIO_BUCKETS: jakarta-bucket  # init with bucket
    volumes: (4)
      - ./data:/data
      - ./config:/root/.minio
    command: server /data --console-address ":9001"
image: minio/minio- pulling the official minio image, I am just pulling the latest here. tags can also be provided after a:- setting ports to the local machine. server port 9000 to 9000 and console port 9001 to 9001. So this also gives access to the management dashboard incase one wants manage objects, and that is quite helpful during the development process.
- environment variables are set for the container. thats how the
minioimage pick up the config for the server. - One can omit the volumes. Which might be a good idea in some cases where you do not want data to be persisted outside of the container. In this case its persisted so even though you restart the container it will still hold the buckets/objects you have added etc.
- and finally the server command that tells the server to load from
/dataand the console address to listen to.
This is all great. but then one thing that stood out to me was. Hey how about that it should also load up the bucket when it starts. Why create it manually. The same name I have in my project should be here too. So this can be done using an init container. I am calling this service an initializer, since thats what it basically does.
  # to create a bucket in minio and upload files from local drive.
  initializer:
    image: alpine:latest
    entrypoint: sh (1)
    command: # copy file in documents
      - -c (2)
      - |
        apk add --no-cache curl jq;     # Install necessary tools (3)
        until curl -s http://minio:9000/minio/health/ready >/dev/null; do
          echo "Waiting for MinIO to start...";
          sleep 2;
        done;
        echo "MinIO is ready. Installing MinIO client (mc)..."; (4)
        wget https://dl.min.io/client/mc/release/linux-amd64/mc -O /usr/bin/mc && chmod +x /usr/bin/mc;
        echo "Uploading file..."; (5)
        mc alias set myminio http://minio:9000 minioadmin minioadmin;
        mc mb myminio/jakarta-bucket || true; # Ensure the bucket exists
        mc cp --recursive /documents/ myminio/jakarta-bucket/; (6)
    depends_on:
      - minio
    volumes:
      - ../documents:/documents         # Mount the 'documents' directory into the container
- entrypoint is the script that is invoked on startup
-cdenotes the multiple commands that will run in the startup.- checking if the minio service is healthy and responding.
- downloadind the
mc- minio client. I really wished there was an easier way to do this. but downloading the client is perhaps the only path here to get to the next step. - creating a bucket for the project i.e
jakarta-bucket - using the local documents directory i.e. mounted int he container and recursively adding the files to the bucket.
This solves the infra bits. Now whenever the minio services come up it will also intialize the bucket.
The complete docker-compose.yml file as follows
services:
  minio:
    image: minio/minio
    ports:
      - "9000:9000"
      - "9001:9001"
    environment:
      MINIO_ROOT_USER: minioadmin
      MINIO_ROOT_PASSWORD: minioadmin
      MINIO_BUCKETS: jakarta-bucket  # init with bucket
    volumes:
      - ./data:/data
      - ./config:/root/.minio
    command: server /data --console-address ":9001"

  # to create a bucket in minio and upload files from local drive.
  initializer:
    image: alpine:latest
    entrypoint: sh
    command: # copy file in documents
      - -c
      - |
        apk add --no-cache curl jq;     # Install necessary tools
        until curl -s http://minio:9000/minio/health/ready >/dev/null; do
          echo "Waiting for MinIO to start...";
          sleep 2;
        done;
        echo "MinIO is ready. Installing MinIO client (mc)...";
        wget https://dl.min.io/client/mc/release/linux-amd64/mc -O /usr/bin/mc && chmod +x /usr/bin/mc;
        echo "Uploading file...";
        mc alias set myminio http://minio:9000 minioadmin minioadmin;
        mc mb myminio/jakarta-bucket || true; # Ensure the bucket exists
        # uncommment if you want upload files during init.
        #mc cp --recursive /documents/ myminio/jakarta-bucket/;
    depends_on:
      - minio
    volumes:
      - ../documents:/documents         # Mount the 'documents' directory into the container
to start this up locally
docker-compose -f deploy/docker-compose.yml -up

Once the compose file is up and running. try something like docker ps and you will see the services running.
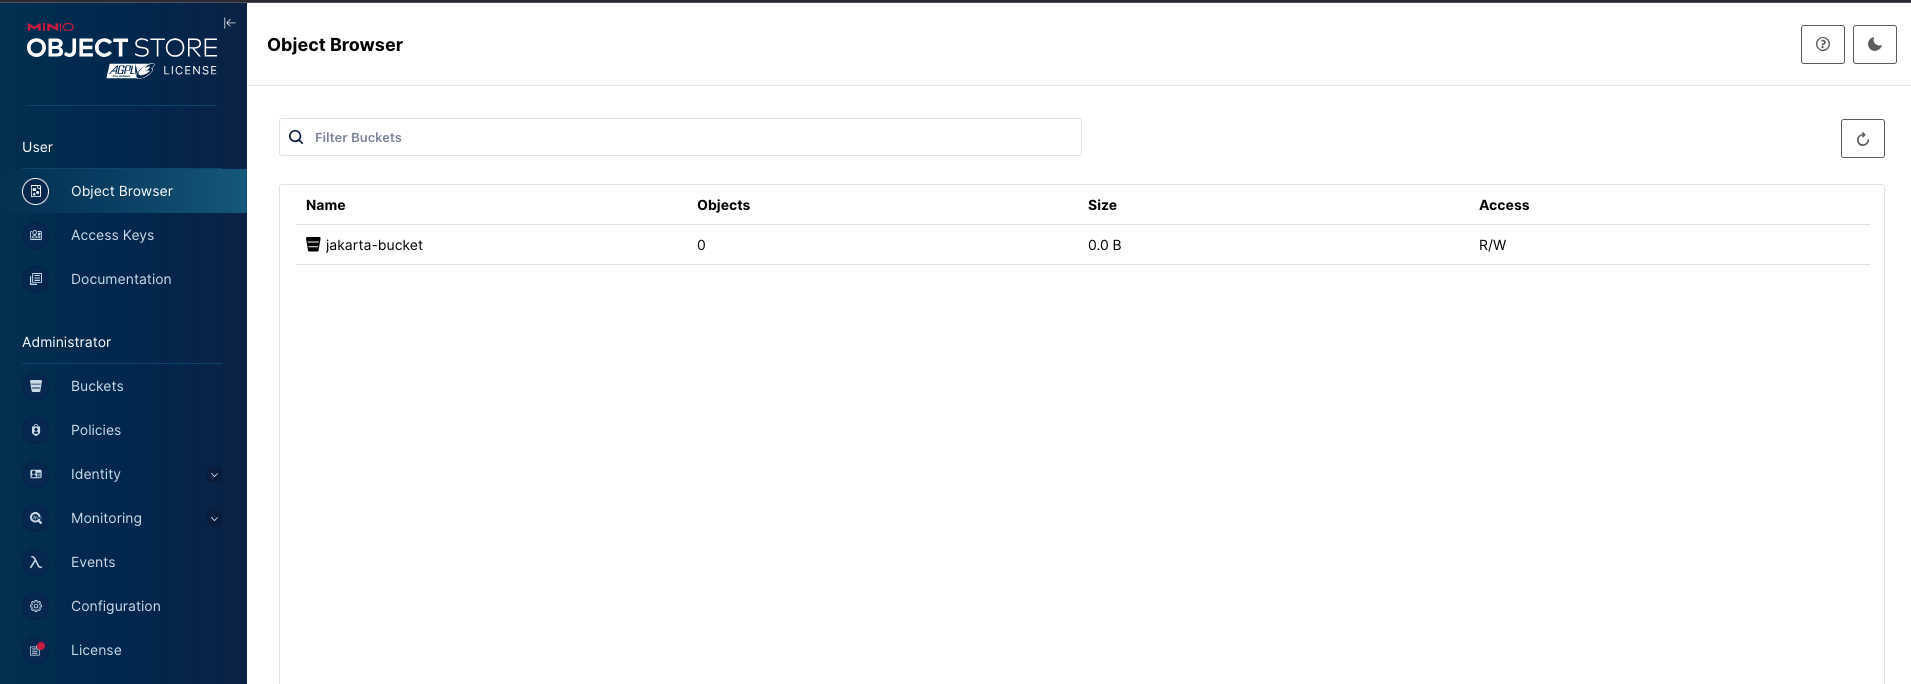
Now you can login to Minio by going to localhost:9000, credentials in this case would be minioadmin/minioadmin. Also a bucket has already been initialized.

If you do not want to use the local docker setup, the minio folks have a playground which is very useful for beginners here. Once you login there, you will need to create a new bucket named jakarta-bucket.
The Quarkus app backed by Minio
Finally head off to code.quarkus.io, and generate a new project. One can also use the quarkus cli to generate a new project. Anyways inorder to use minio, add the following dependency. Quarkiverse, the universe for Quarkus extensions contributed by community members includes many extensions. One of them is the experimental minio extension. However in this case I am just using the dependency provided by minio. Add the following to the pom.xml file.
        <dependency>
            <groupId>io.minio</groupId>
            <artifactId>minio</artifactId>
            <version>8.5.17</version>
            <type>jar</type>
        </dependency>
Also I add the following properties in the application.properties so minio can be used in the MinioClientProducer
# remote config via
minio.endpoint=https://localhost:9000
minio.access-key=minioadmin
minio.secret-key=minioadmin
minio.bucket-name=jakarta-bucket
Next step create a MinioClient. I use a producer so that its usable accross my project.
import io.minio.MinioClient;
import jakarta.enterprise.context.ApplicationScoped;
import jakarta.enterprise.inject.Produces;
import org.eclipse.microprofile.config.inject.ConfigProperty;


@ApplicationScoped
public class MinioClientProducer {

    @ConfigProperty(name = "minio.endpoint") //(1)
    String endpoint;

    @ConfigProperty( name = "minio.access-key")
    String accessKey;

    @ConfigProperty( name = "minio.secret-key")
    String secretKey;

    @Produces //(2)
    @ApplicationScoped //(3)
    public MinioClient getMinioClient() {
        return MinioClient.builder() //(4)
                   .endpoint(endpoint)
                   .credentials(accessKey, secretKey)
                   .build();
    }

}
@ConfigProperty, pulls in the key,value from theapplication.properties@Produces, produces the MinioClient to be used in the application.@ApplicationScoped, that this will only be produced once.- Finally building the MinioClient with credentials and minio endpoint.
Next, we create the upload form for an http request.
import org.jboss.resteasy.reactive.PartType;
import org.jboss.resteasy.reactive.RestForm;
import jakarta.ws.rs.core.MediaType;
import java.io.InputStream;

public class FileUploadForm {

    @RestForm
    public InputStream file; //(1)

    @RestForm
    @PartType(MediaType.TEXT_PLAIN)
    public String fileName; //(2)

    @RestForm
    @PartType(MediaType.TEXT_PLAIN)
    public String contentType; //(3)
}
- file: An InputStream that represents the contents of the uploaded file.
- fileName: A String that holds the name of the uploaded file, specified as plain text.
- contentType: A String that holds the MIME type of the uploaded file, also specified as plain text.
These fields are annotated with @RestForm and @PartType(MediaType.TEXT_PLAIN), which indicate that they should be bound to form fields from an HTTP request.
Okay at this point we have succesfully done two things, one that we have a MinioClient that we can consume anywhere in our application. Which helps us stay in sync and in control of the behaviour and connection of the client. Secondly we also have a form that can basically take a file and its type. What we dont have is our main REST end point that does the work for us. We could also just create a service that handles all the Minio interaction, and in a large project that would definitely be a choice I would make, even helps with testing if you are into that :). Anyways for simplicity I use a REST resource here for the showcase.
import io.minio.MinioClient;
import io.minio.PutObjectArgs;
import io.minio.GetObjectArgs;
import jakarta.enterprise.context.ApplicationScoped;
import jakarta.inject.Inject;
import jakarta.ws.rs.*;
import jakarta.ws.rs.core.MediaType;
import jakarta.ws.rs.core.Response;
import org.eclipse.microprofile.config.inject.ConfigProperty;

import java.io.InputStream;
@Path("/minio")
@ApplicationScoped
public class MinioResource {

    @Inject //(1)
    MinioClient minioClient;

    @ConfigProperty( name = "minio.bucket-name") //(2)
    String bucketName;

    @POST
    @Path("/upload")
    @Consumes(MediaType.MULTIPART_FORM_DATA) //(3)
    public Response uploadFile(FileUploadForm form) {
        try {
            minioClient.putObject( //(4)
                    PutObjectArgs.builder()
                            .bucket(bucketName)
                            .object(form.fileName)
                            .stream(form.file, form.file.available(), -1)
                            .contentType(form.contentType)
                            .build()
            );
            return Response.ok("File uploaded successfully: " + form.fileName).build();
        } catch (Exception e) {
            return Response.status(Response.Status.INTERNAL_SERVER_ERROR).entity(e.getMessage()).build();
        }
    }
- Injecting the MinioClient that was produced in our MinioClientProducer class.
- Our bucket name we would like to use. Assumes that the bucket is available in minio. We took care of that in our
docker-compose.ymlfile with the init container. - The REST end points intention that it consumes an upload Form as mutli-part data.
- Putting the object recieved into the S3 bucket.
Next adding the downloading code as well. Would do great for our test if we can upload and download the same file to see if it actually works.
    @GET
    @Path("/download/{fileName}")//(1)
    @Produces(MediaType.APPLICATION_OCTET_STREAM)
    public Response downloadFile(@PathParam("fileName") String fileName) {
        try {
            // Download the file from MinIO
            InputStream stream = minioClient.getObject( //(2)
                    GetObjectArgs.builder()
                            .bucket(bucketName)
                            .object(fileName)
                            .build()
            );
            return Response.ok(stream)
                    .header("Content-Disposition", "attachment; filename=\"" + fileName + "\"")
                    .build();
        } catch (Exception e) {
            return Response.status(Response.Status.NOT_FOUND).entity("File not found").build();
        }
    }
}
- We want to pass the
fileNamein our request. - Getting the object from the minio bucket.
Okay now lets put our uploader, downloader to test In the documents dir, we have one pdf document that we can now try to upload using curl as follows.
curl -X POST http://localhost:8080/minio/upload \
            -F "file=@documents/jakartaee12.pdf" \
            -F "fileName=jakartaee12.pdf" \
            -F "contentType=application/pdf"
And the following command to download the file
curl -X GET http://localhost:8080/minio/download/jakartaee12.pdf -o jakartaee12.pdf
Source for this example exists here
Some other interesting things along the way
// To check if the bucket already exists
minioClient.bucketExists(ucketExistsArgs.builder().bucket("bucketNAME").build());

// To create a bucket in code
minioClient.makeBucket(MakeBucketArgs.builder().bucket("bucketNAME").build());

// To remove a bucket
minioClient.removeBucket

// A file can be uploaded as object in a bucket as well but for streams we still want to use putObject as in our example.
minioClient.uploadObject