Setting up
Before we start the lab, its important that you read the following instructions carefully. These instructions will be refered from the rest of the content if you need to come back to them.
First Step: Create a Developer sandbox account
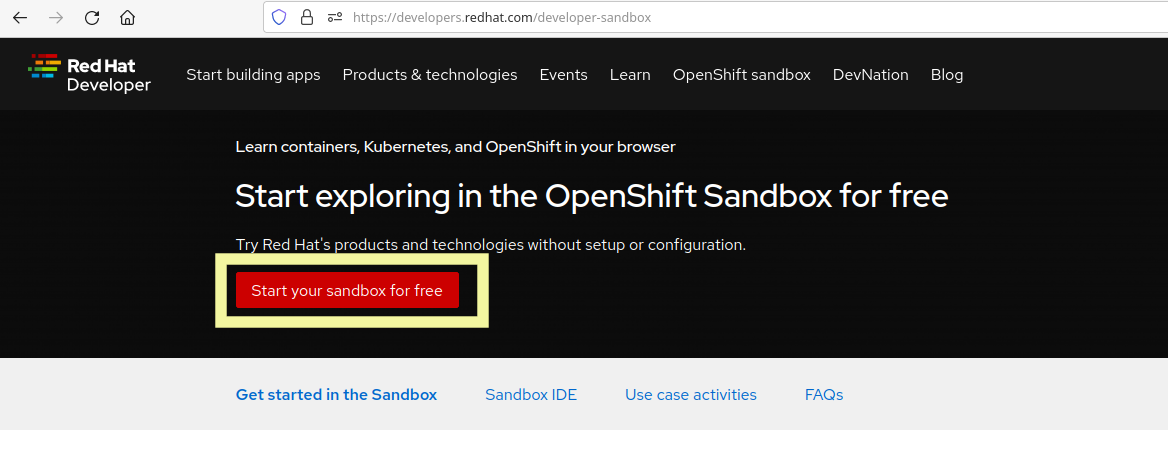
All the labs are using the Red Hat OpenShift Sandbox. Red Hat OpenShift Sandbox ("Sandbox") is a great platform for learning and experimenting with Red Hat OpenShift.The Sandbox is a great platform for learning and experimenting with OpenShift.
To start using it you will need to create an account if you dont already have one here. Once you have the account head off to this page and start your sandbox. It might take a couple of minutes to get access.
Furthermore we also need the Developer Sandbox IDE Sandbox IDE, in this lab
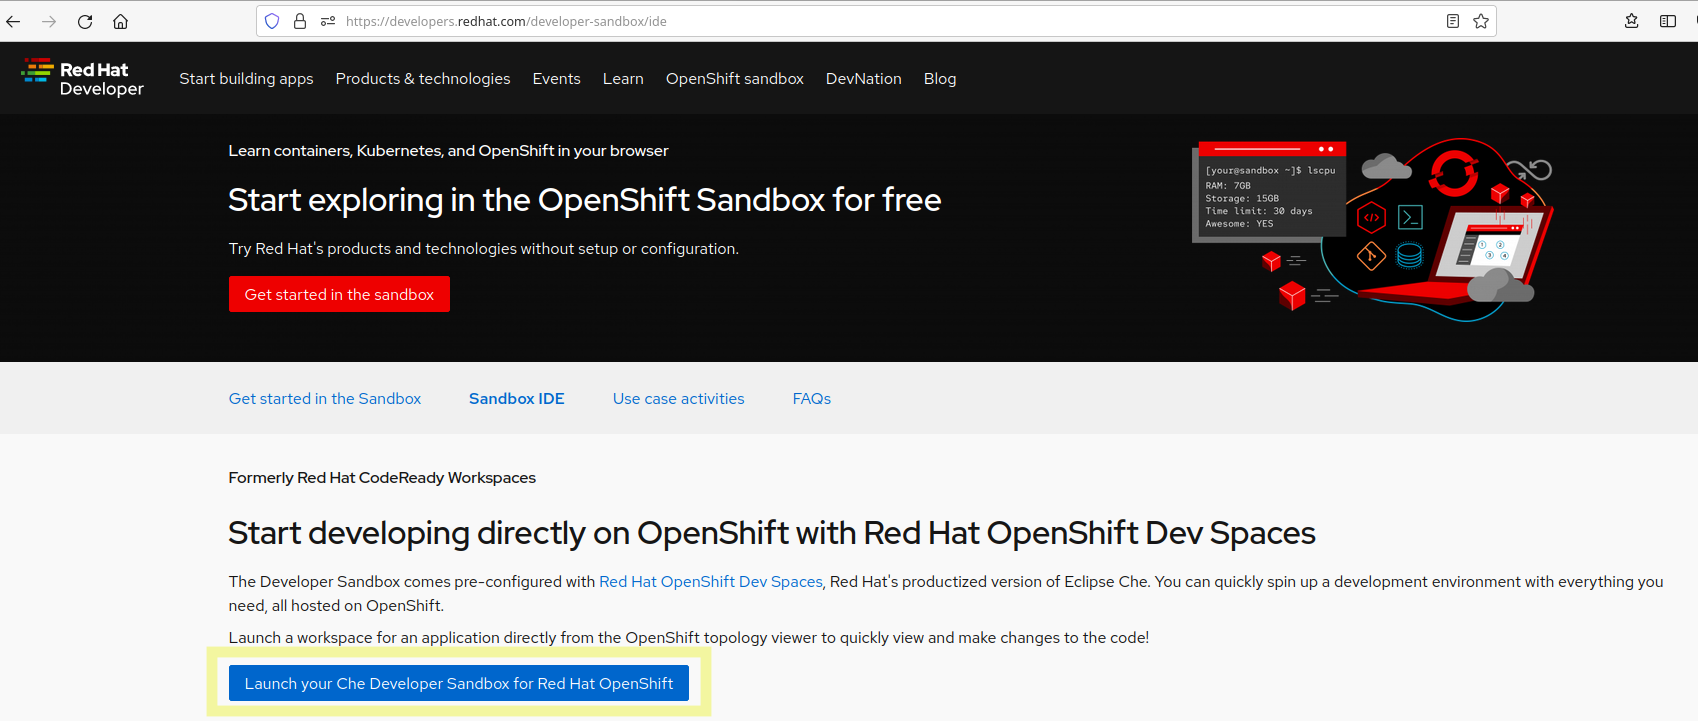
I have created a stack in the Sandbox IDE which includes all the command line tools and plugins required. However if you do not want to use the sandbox IDE, you can look at the appendix section for setting up everything locally.
Click-to-Copy
You will see various code and command blocks throughout these exercises which can be copy/pasted directly:
/* A sample Java snippet that you can copy/paste */
public class CopyMeDirectly {
    public static void main(String[] args) {
        System.out.println("You can copy this whole class with a click!");
    }
}
There are also Linux shell commands that can also be copied and pasted into a Terminal in your Development Environment:
echo "This is a bash shell command that you can copy/paste"The tutorial Environment You Are Using
Your tutorial environment consists of several components which have been pre-installed and are ready to use. Depending on which parts of the tutorial you’re doing, you will use one or more of:
Red Hat OpenShift - You’ll use one or more projects (Kubernetes namespaces) that are your own and are isolated from other tutorial students
Red Hat OpenShift Dev Spaces - Built on the open Eclipse Che project, Red Hat OpenShift Dev Spaces uses Kubernetes and containers to provide any member of the development or IT team with a consistent, secure, and zero-configuration development environment. The experience is as fast and familiar as an integrated development environment on your laptop. OpenShift Dev Spaces is included with your OpenShift subscription and is available in the Operator Hub. It provides development teams a faster and more reliable foundation on which to work, and it gives operations centralized control and peace of mind.
Red Hat Runtimes - a collection of cloud-native runtimes and platform that enables Spring Boot, Node.js, and Quarkus developers to create Cloud-native apps with ease.
Setting up your IDE
You can use your preffered IDE, however you will need tools like the 'oc' command line as well. We have already created a stack for the sandbox IDE so everything is already installed for you.
Open up your Sandbox IDE
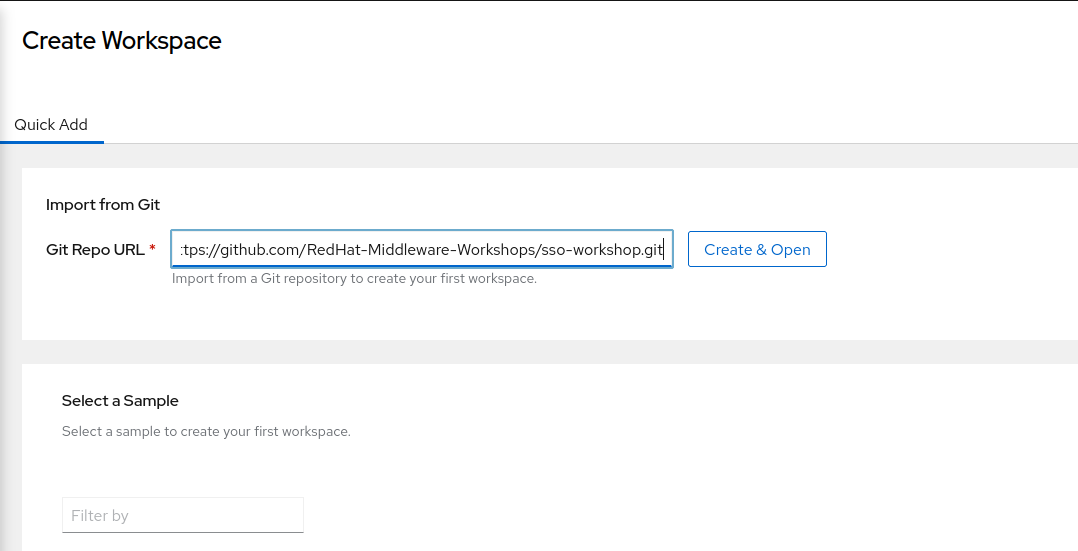
Once logged in browse to workspaces, and click the add workspace button as shown below.

The already created stack and the source code for the labs exists on the following git url
https://github.com/RedHat-Middleware-tutorials/sso-tutorial.gitCopy the above link to the 'Git Repo URL' and press create and open. This should start loading and installing your stack. It can take a couple of minutes so let it run in the browser tab.
Perfect, now you should have an IDE setup. Lets move on to the tutorial.
How to complete this tutorial
Click the "Next >" button at the bottom to advance to the next topic. You can also use the menu on the left to move around the instructions at will.
Good luck, and let’s get started!